[AD] This is a sponsored post by the team at HUE.
HUE Animation Studio is so much more than a computer based game; it is the digital needle and thread that binds manual and creative skills together with educational technology.
Stop-motion animation is a technique where physical objects are moved and photographed repeatedly in sequence, creating the illusion of movement when the photos are played back as a video. Characters and sets are often made from arts and crafts materials such as clay, fabric or card, but you can use any creative materials you like working with or have to hand. Whether your kid’s a budding Beatrix Potter, pint-sized Picasso or tiny Tim Burton, HUE Animation Studio has something for everyone. The whole family can get involved and bring their talents into play. So, unpack the paints, raid the recycling bin, get the googly eyes out and start making movie magic!
Here’s how…
Step 1 – The idea
First you will need a spark of inspiration for a story or a creative idea for something to animate. Inspiration can come from anywhere; a holiday, a movie, history, a favourite toy or even a funny joke could get the creative juices flowing. If you are stuck for ideas the HUE Book of Animation has step-by-step instructions for creating 20 hilarious stop-motion videos to get you started.
Step 2 – The Storyboard
Once you have chosen your idea the next step is to make a storyboard. Storyboard drawings can be quite sketchy and rough, they don’t need to be beautiful finished illustrations, they are simply a tool to help you plan your film and keep you focused while animating. In this step you can make final decisions about your script and the characters, backgrounds and props you need to make to tell your story. You can download and print storyboard templates from your account on www.huehd.com.

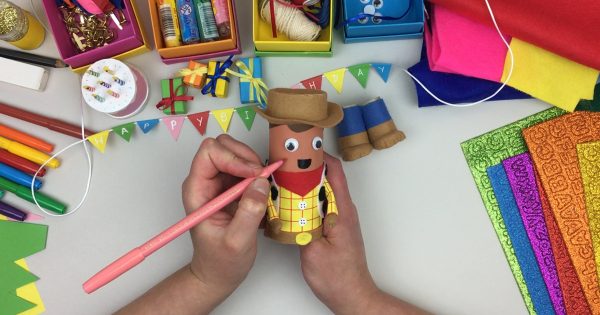
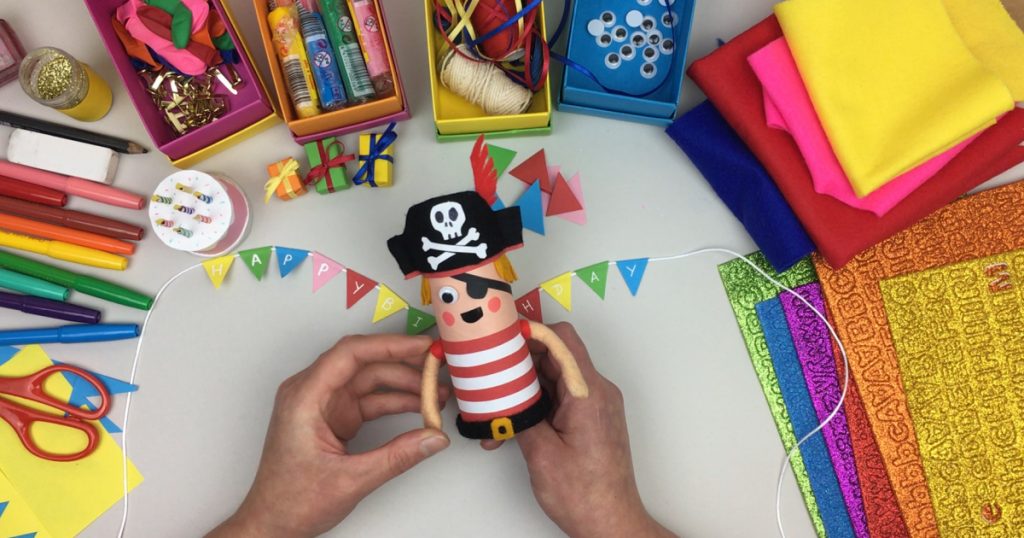
Step 3 – Create your characters
Time to get messy! Get the paints, play-doh and glitter out. Craft your characters and build your backgrounds. Does your character need any moving parts? Does it pick anything up? Speak? If the characters arms need to wave you could make them from wire pipe cleaners, if the character needs to speak you could make some replacement mouth parts. All these considerations will help you decide how to build your character and make the animation process easier and more fun.
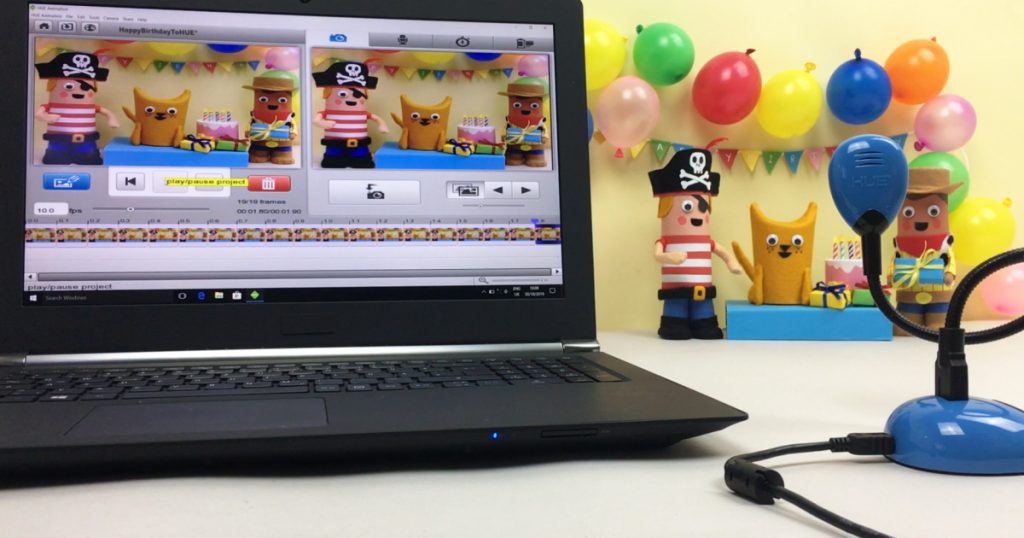
Step 4 – Start animating
The stage is set, your “actors” are ready for their close-ups and it’s time to animate! Remember to refer to your storyboards to decide what background elements and props you need. Once you have filmed all your scenes and added your soundtrack you can export your finished film to YouTube, Creatubbles or your computer as a video file to share with friends and family. When you have HUE Animation Studio in your creative tool-kit you can create a digital memory box of your arts and crafts projects that you can go back to time and time again. For more tips, tricks, and tutorials head over to www.huehd.com.
If you want to try your hand at making your very own mini movie, you can buy your very own HUE Animation Studio here and here – for a limited time only we are offering our readers a 10% discount on orders made up until 31/12/2019. Use the code UKMUMS10 – valid on all colours of the HUE Animation Studio (red, blue and green).
Note: HUE Animation Studio requires the use of a computer with either Windows or MacOS.
For more information, please click here.
You can win your very own HUE Animation Studio here.